
Embossing Techniques
DRY EMBOSSING TECHNIQUE:
- Place the template over your light box and tape it into place.
- Place the paper ON TOP of the template.
- Rub the paper with a piece of wax paper.
- Use the stylus to trace along the cut out edges of the template.
COLORING AND DECORATING:
- Place the template on top of the embossed image.
- Using a sponge dauber, lightly dab in pigment inkpad to pick up color.
- Apply the color to the embossed image.
- Pour some ultra fine glitter into a tidy tray.
- Lightly cover the image with liquid glue marker.
- Gently dab into glitter and shake off excess glitter. You may also try applying watercolors, oil pastels, or chalks with small brushes or makeup sponges. Decorative edgers, ribbons, punchers, brads, beads�.will enhance the beautiful outlook.
CREATE 3-D IMAGE WITH EMBOSSING PASTE:
- Place brass stencil on the paper, secured with removable tape along all the edges.
- Use flat edge pallet knife to pick up embossing paste from the bottom of the jar, fill up all the opening area, gently scrape the extra paste and pull back to the jar. Repeat the same procedure until you see the metal design (the thickness of the paste is same as metal�s).
- Remove the removable tapes in the reverse order you put it on. Using the first tape you put on as a hinge, lift up the template then remove the tape.
- Set aside you image and use old tooth- brush and water to clean the stencil.
- Drying time: 20 � 50 minutes. Heat tool may be used to shorten waiting time.
COLORING AND DECORATING:
You may color before or after using embossing paste by using dauber /inks or chalks. By mixing acrylic paints, liquid inks can give you desired colors. Glitter can be added to paste directly while paste is still wet.
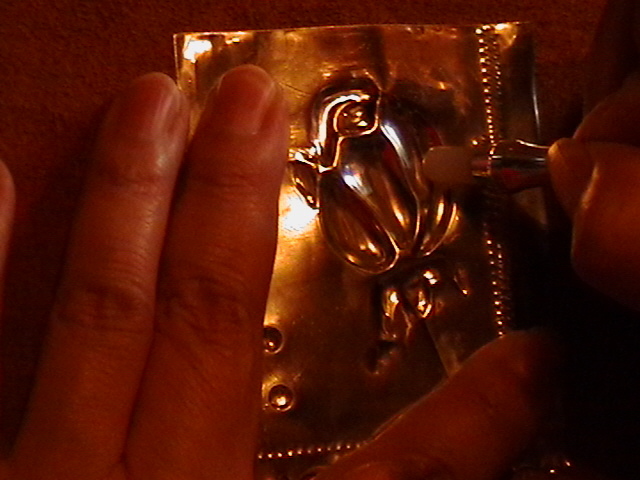
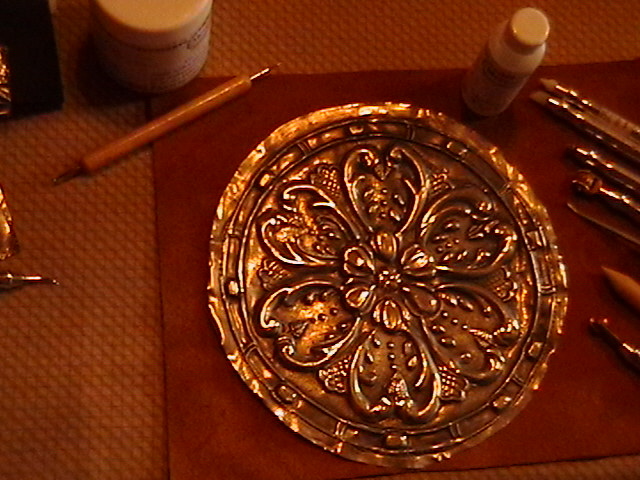
METAL EMBOSSING TECHNIQUE:
- Place the stencil over the suede and on top of the hard surface (cutting mat, acrylic block, glass�.).
- Place the metal over the stencil.
- With a Teflon tool, rub the metal gently so the design of the template becomes visible.
- Use the sphere tool rub deeper into the cavities of the design until you reach the depth or the dimension you desire.
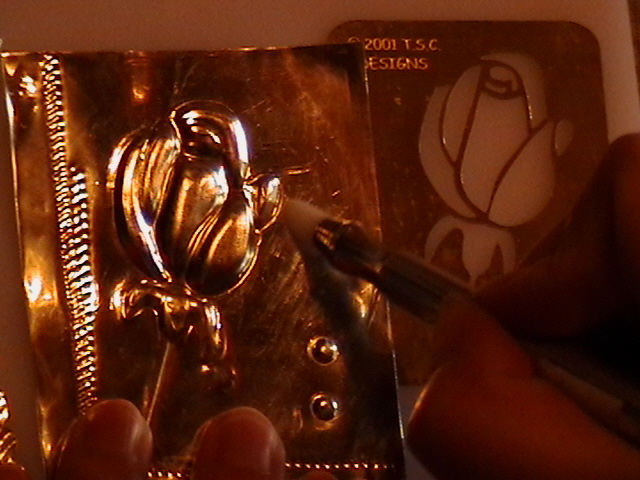
- Turn the metal over so that the embossed side is facing up and use refiner, deer foot Teflon, or sphere Teflon to clean up the edges & flatten the bumpy areas.
- Repeat step 1 � 5 to add new textures or details if necessary.
- Remember to work over the suede when you are embossing or pushing from the back. When you are working on the front, adding textures, backgrounds or just cleaning the edges of what you have embossed, you need only work on the hard surface, not on the suede.
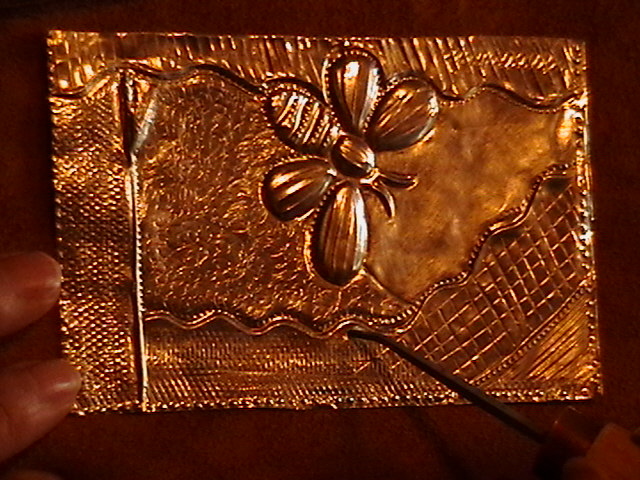
- Use the decorative wheel like star wheel (from the back) to create a frame or border for the project.
- For backgrounds, use the Double Metal Brush or just draw some small circles with the Hook (refiner) or Microwheel over the non-embossed spaces of the metal.
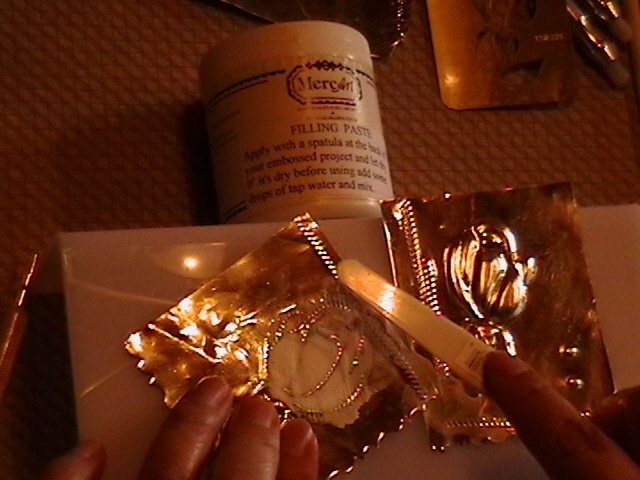
- After you have completed all embossing and finishing touches turn over the metal and use a spatula and filling paste to fill the recesses areas to avoid dents in your design. Allow the paste to dry for about 15 minutes.
- If you use Tin Coated Pewter, you may want to use the Tin Patina to give your artwork an antique look. Apply Patina over the project with a bristle brush. Remember to wipe off the excess liquid.
- Apply the Metal Polishing paste over the project and rub it with cotton cloth until the metal shines.
- You may attach your project to any surface by using a strong glue, double sided tape or rubber cement.
 |
 |
 |
 |
 |
 |